Popped into Treacle and Co,and enjoyed an amazing slice
of treacle tart with cream and berries.
Libby enjoyed the
chocolate cake with home made ice cream.
The fab vintage interior always puts a smile
on my face or is it the awesome cakes ?
If I had not done enough overing
indulging, later in the week we
shared this home made Oreo at the
equaling amazing Flourtown, bakery.
Wednesday, 22 May 2013
Thursday, 9 May 2013
Amberley Museum and Heritage centre.
Enjoyed a fantastic day out at Amberley Museum on bank holiday monday.
If you love retro and vintage this is great museum, housed in an old
quarry. A vintage bus with a conductor and retro tickets drops you
off at the many different "sites" housing, the varied and interesting
collections, there is one site for the telephone - where you can see
"operators" putting through the calls, retro phone boxes, the whole history
of the phone from the first phone to today, the same with television, electricty,
trains, buses, the list goes on and on. we stent the day there but did not
have time to visit all of the exhibitions. We used the vintage bus and
the steam train to get around the quarry. The steam train stops at two
real vintage stations, complete with a station master !
Retro electric fire.
Retro phone box.
love this fridge !
Thursday, 25 April 2013
Vintage Patterns
A flying visit to Emmaus produced these
fab retro patterns I especially like the long
halter neck dress - roll on summer !
Wednesday, 10 April 2013
How to Applique - a simple guide
Equipment list.
Fabric/ pins/ sewing thread to match or contrast.
Sewing machine
Bond-a-web ( available from most fabric shop and haberdashers)
Images to cut around
Choose the images you want to applique onto your fabric,
these can be hand drawn or down loaded from the internet,
cut them out to use as a template.
Pin them onto the fabric and cut out.
Pin the cut out pieces of fabric onto the glue side of the bond-a-web.
If you run your fingers over it will feel "gritty".Cut out.
Move your work to the ironing board and with the shiny side of the
bond-a-web facing you, iron. The bond-a-web will stick to the fabric.
Peel the bond-a-web backing off the fabric, and place your motif
onto your fabric right side up. Iron over the motifs and they will be
glued into place.
Move to the sewing machine and change the setting for applique.
On my machine a Singer I need to be in the middle of a button hole stitch
and the middle of zig zag. You will need to have a practice to check the stitch
is correct. Your machine may have an applique button or setting, your sewing
machine manual will guide you.
Now you are ready to start sewing. A little practice will help you see the best
position for stitching. I have the middle of the foot on the edge of the fabric so
the raw edge of the fabric is covered with the applique stitch.
If you want to appliqué layers, (as shown below ) position all the layers first,
Applique around the under layer (s) first, leaving the main image until last,
insuring that your main shape has a unbroken line of applique.
Wednesday, 3 April 2013
Mollie Makes - HOME magazine review
Picked up this Magazine Mollie Makes
HOME from the publishers of Mollies Makes the
monthly craft magazine. It was quite expensive
at around £7. But as a one off its as great buy
packed with retro and vintage ideas for
decorating your home.
There are plenty of projects, including
Loving all the seventies wallpaper !
HOME from the publishers of Mollies Makes the
monthly craft magazine. It was quite expensive
at around £7. But as a one off its as great buy
packed with retro and vintage ideas for
decorating your home.
There are plenty of projects, including
how to make a patch work full size quilt,
and a delightful baby quilt, a retro inspired
headboard, potato pint placemats ! blankets and
cushion to crochet and much more ...
Plus some great book reviews and
loads of ideas to inspire you.Loving all the seventies wallpaper !
Monday, 18 March 2013
Pillow Case Tutorial
I found this retro sheet at Emmaus and
as part of my very slow bedroom "make over"
I have made these pillow cases, heres how,

You will need:
Fabric = two rectangles one that measures
30 x 20 inches or ( 76cm x51cm)
and the second piece 36 x 20 or (91 cm x51cm)
Sewing Machine
Start with you two pieces of fabric each measuring
30 x 20 inches or 76 cm x51cm and 36 x 20 or 91 cm x51cm
using this line as a guide fold over on the stitch line and press, fold again and
press, repeat on the remaining piece of fabric.
machine along the fold line on both pieces of fabric, the fold should be on
the wrong side of the fabric, repeat on the remaining piece of fabric.
Place right sides of the fabric together, the unsewn ends must match, leaving
the turned hems not matching (my top hem is not sewn into place in the photo)
Machine the pillow cases together using 1 cm seam allowance and zig zag the edges.
fold the flap over the pillow and pin together, this bit feels wrong !
And machine down using a 1 cm seam allowance,
to match the seam you have already sewn.
fold the flap back, give it an iron, you pillow case is finished.
as part of my very slow bedroom "make over"
I have made these pillow cases, heres how,
You will need:
Fabric = two rectangles one that measures
30 x 20 inches or ( 76cm x51cm)
and the second piece 36 x 20 or (91 cm x51cm)
Sewing Machine
Pins, scissors, and sewing thread
1 cm seam allowance
Start with you two pieces of fabric each measuring
30 x 20 inches or 76 cm x51cm and 36 x 20 or 91 cm x51cm
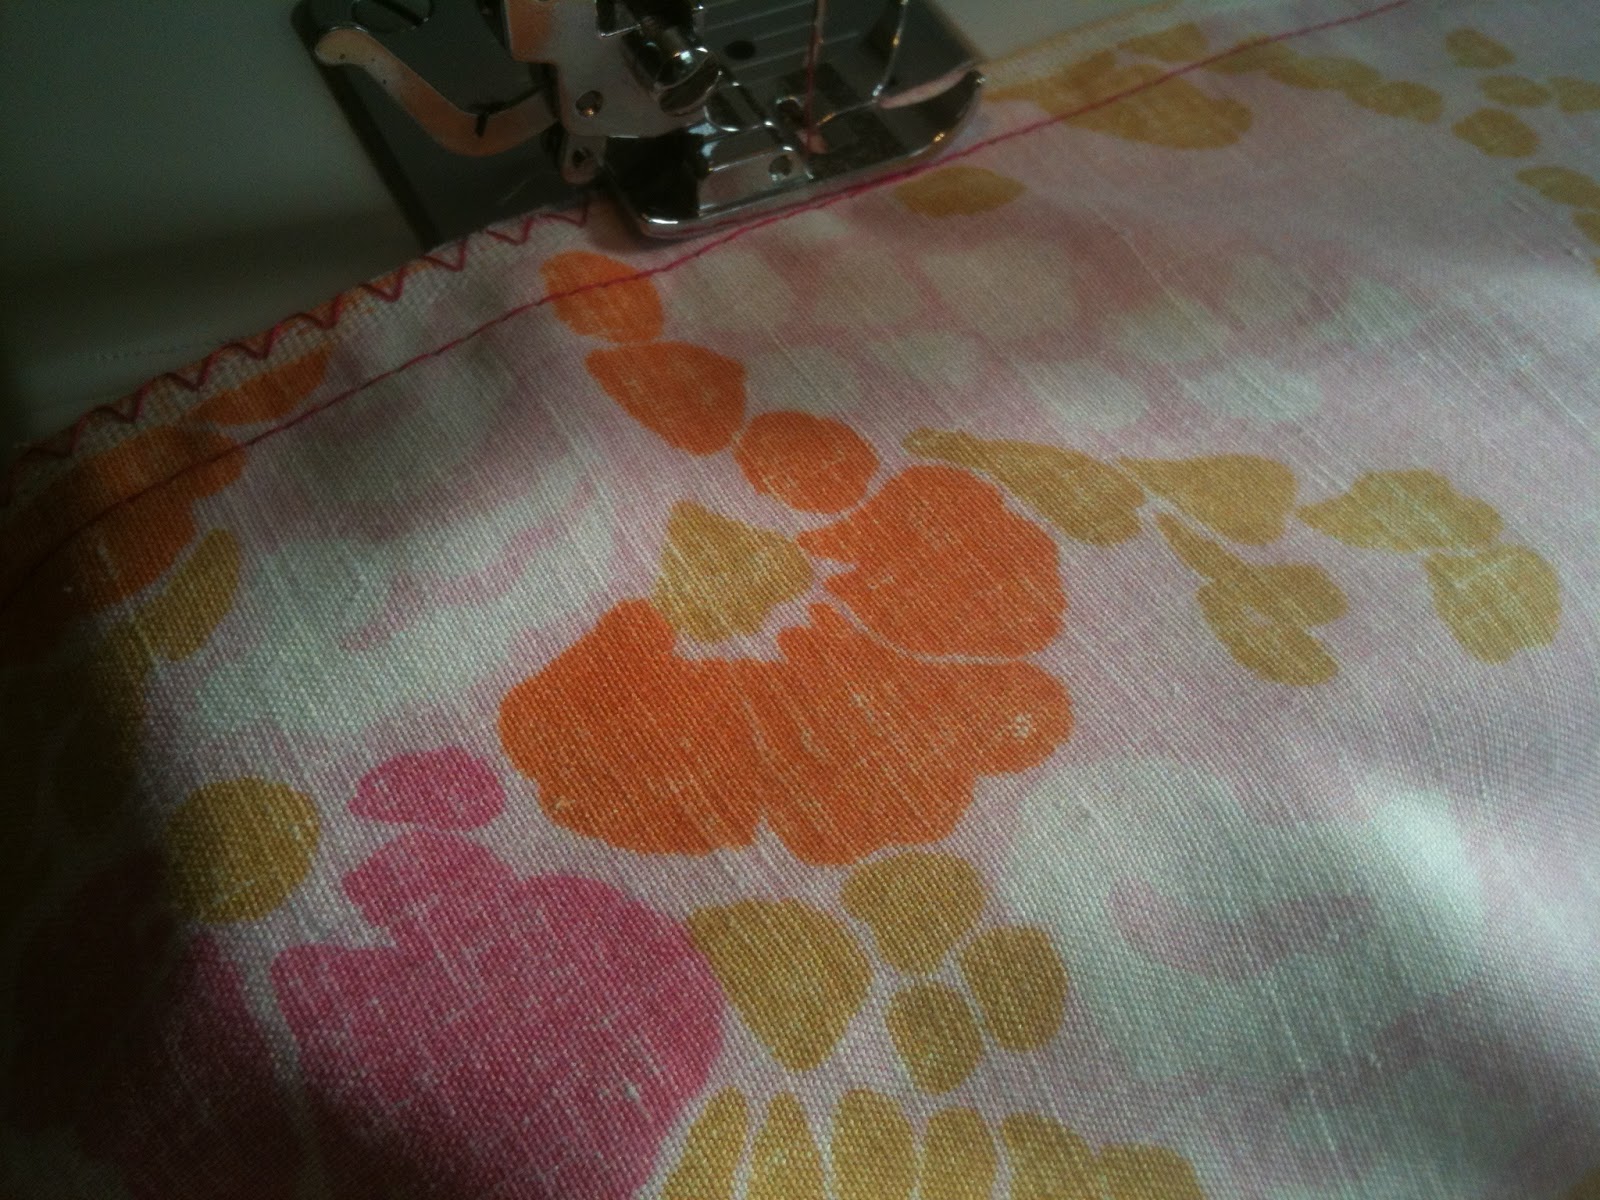
with the wrong side of the fabric facing you
and using the end that measure 20 inches (51 cm)
machine a line 1 cm from the edge of the fabric.
Repeat on the remaining piece of fabric.
press, repeat on the remaining piece of fabric.
machine along the fold line on both pieces of fabric, the fold should be on
the wrong side of the fabric, repeat on the remaining piece of fabric.
Place right sides of the fabric together, the unsewn ends must match, leaving
the turned hems not matching (my top hem is not sewn into place in the photo)
Machine the pillow cases together using 1 cm seam allowance and zig zag the edges.
fold the flap over the pillow and pin together, this bit feels wrong !
And machine down using a 1 cm seam allowance,
to match the seam you have already sewn.
fold the flap back, give it an iron, you pillow case is finished.
Subscribe to:
Posts (Atom)


